Docker
Docker Download + Install
Head over to the Docker website to download the necessary package
Check Processor support for Docker (Click to expand)
In order to run docker you must be able to support virtualization from your CPU. This feature must also be enabled within your BIOS and Windows Features.
See more of Virtualization Disabled - Windows for more details
If you’re unsure whether docker is supported by your specific cpu, please visit and input your specific model number:
Type Your Model Number, e.g. T6500 into the product search bar

In this example above, you can see that Vt-x (Virtualization) is not supported. This will be a Yes if it is supported.
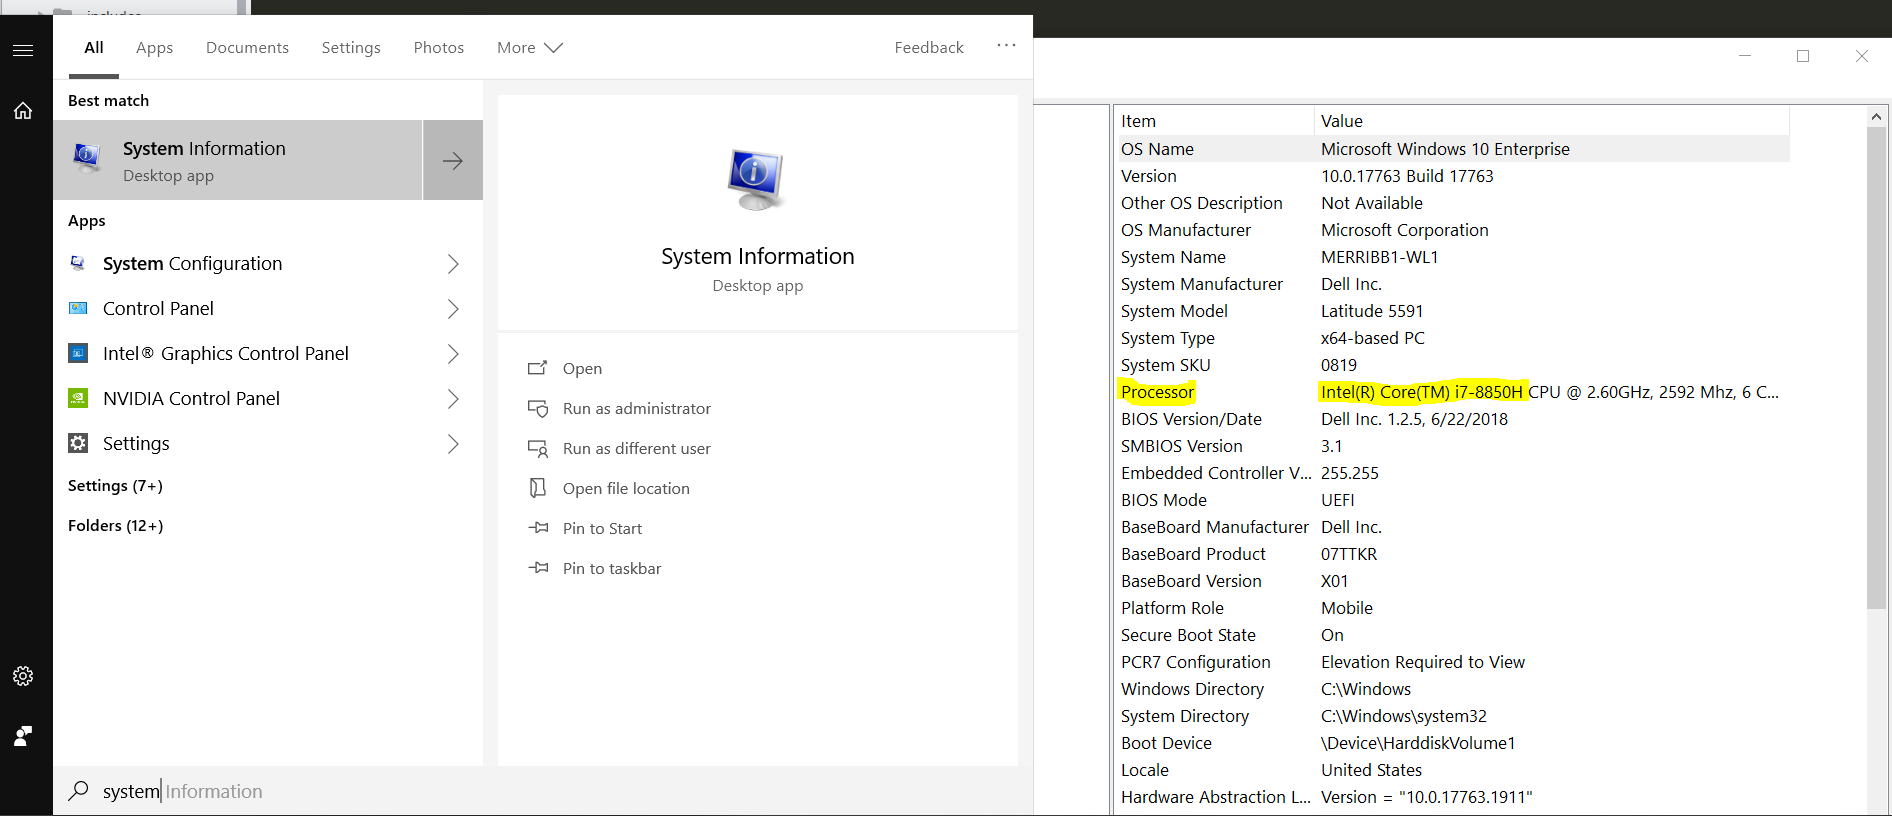
To find the cpu model on Windows:
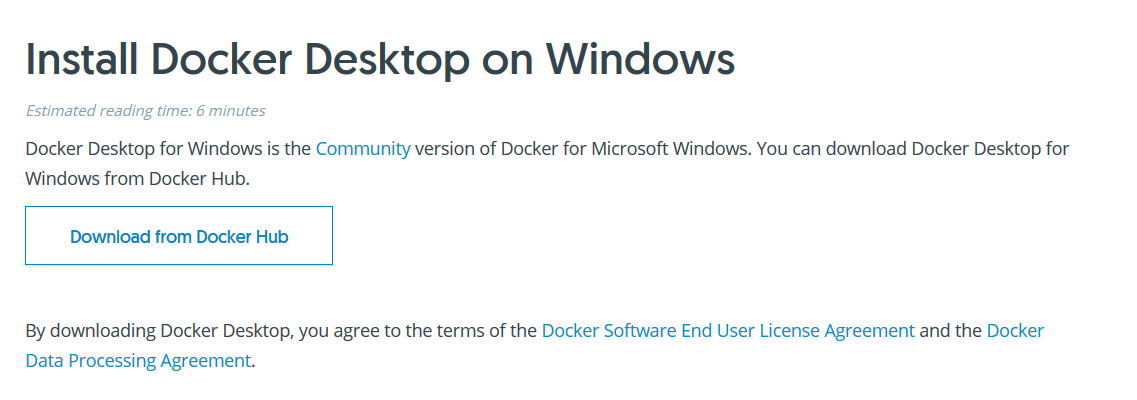
Choose Get Docker

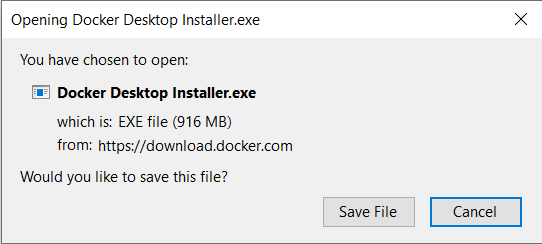
Choose Save File from the prompt
Once you’ve installed docker for Windows, you can start it at the Quick Launch by search Docker. You can also view it on your right-hand-bottom tray by right-clicking
Here Docker provides a GUI environment to manage your system. You can allocate or limit resources to your containers as well as set networking settings if you’d like. We use default values for our app

OPTIONAL Choose Local drives to share with containers. Useful if you’re storing data on an external drive.

Main image that allows you to manage specific containers
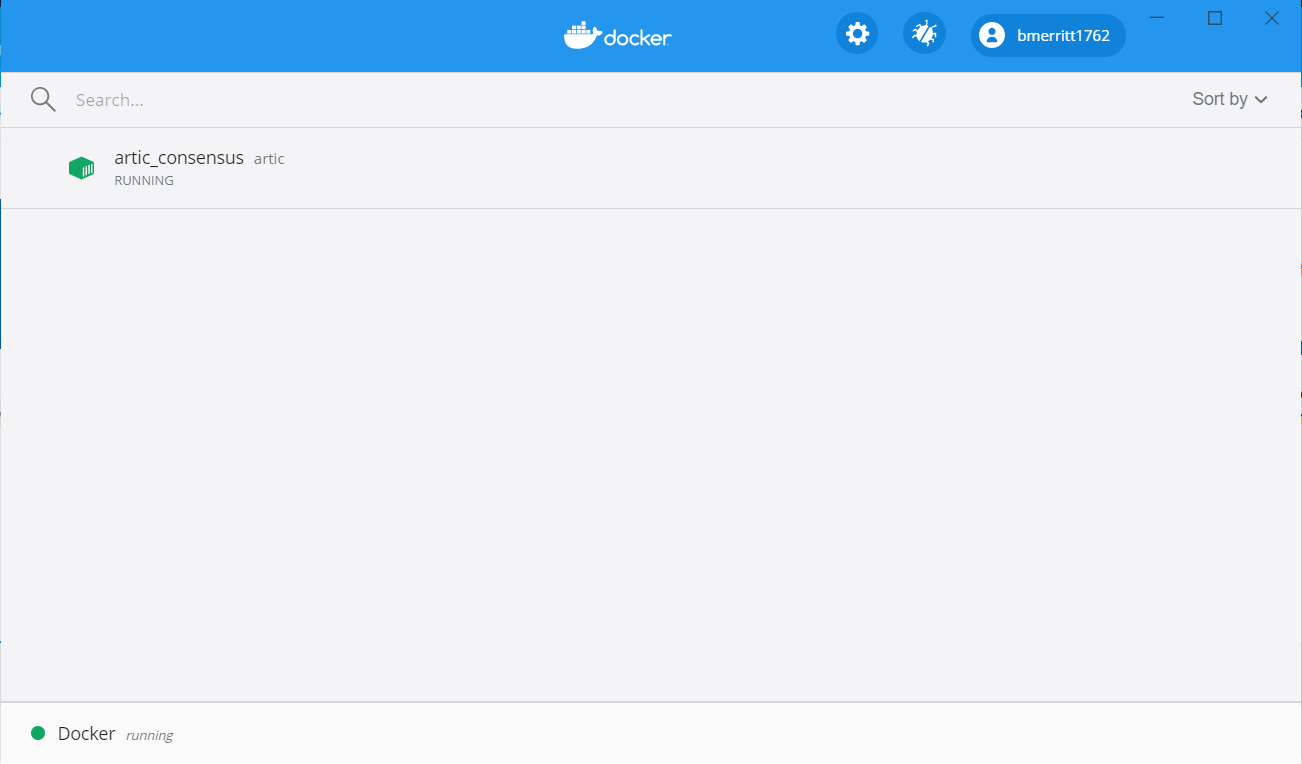
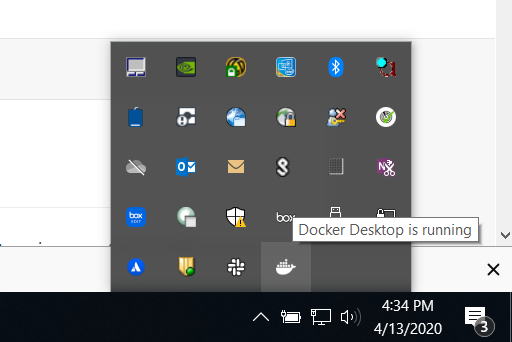
Confirm Docker is Running
In your taskbar (lower-right), if you hover over the icon you should see the message displayed below. Right-clicking will give additional options
Warning
You might experience an error about BIOS not having virtiualization enabled

Follow these steps from https://bce.berkeley.edu/enabling-virtualization-in-your-pc-bios.html
See here Virtualization Disabled - Windows for more information
- Reboot your computer
Right when the computer is coming up from the black screen, press Delete, Esc, F1, F2, or F4. Each computer manufacturer uses a different key but it may show a brief message at boot telling you which one to press. If you miss it the first time, reboot and try again. It helps to tap the key about twice a second when the computer is coming up. If you are not able to enter the BIOS via this method, consult your computer’s manual.
In the BIOS settings, find the configuration items related to the CPU. These can be in under the headings Processor, Chipset, or Northbridge.
Enable virtualization; the setting may be called VT-x, AMD-V, SVM, or Vanderpool. Enable Intel VT-d or AMD IOMMU if the options are available.
Save your changes and reboot.
Delete any existing VMs (Machine > Remove ** and select ** Delete all files) and re-import the .ova file (following step 4 and subsequent steps of the installation instructions).
Check if your system supports Virtualization
If you are unable to find the Virtualization settings in your BIOS it may mean that your laptop does not support it. If you want to try to find this out yourself, then you can try:
On Windows, download and run a Microsoft utility. You can also download utilities to check if your CPU is capable of virtualization, if not enabled. Hyper-V must be disabled in order for VirtualBox to run 64-bit guest operating systems. Visit the “turn Windows feature on or off” application and make sure Hyper-V is not checked.
On Linux, open a terminal window and run:
egrep -q 'vmx|svm' /proc/cpuinfo && echo yes || echo no
Basestack
Install Main
Download Basestack from Releases
You will select the item labeled
<Basestack-Version>.Setup.exe
Double-click
Basestack-Version.Setup.exeFollow the prompts for installing the software. Choose defaults unless otherwise needed.